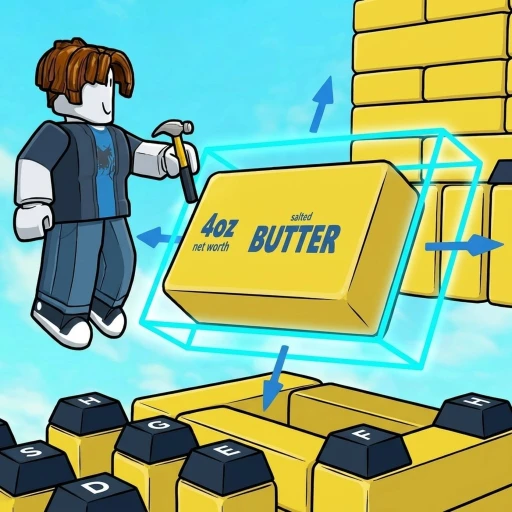
How to Earn Money in Build an ASMR Tower
Quick answer: place ASMR items at your base, let the placed blocks generate money, collect what you earn, and reinvest one measured step at a time.
The official Roblox description says that placed blocks earn money. It does not publish exact income rates, payback times, or a best-item ranking. The item page now preserves a dated gameplay shop snapshot, while this guide still treats your live server as the primary source for current decisions.
The confirmed money loop
The economy starts with placement. Buy an ASMR tool, put it at your base or use it in your obby, earn money from placed blocks, and spend those earnings on further growth. That four-part loop is the only financial mechanic stated directly in the official experience description.
Recent public gameplay is consistent with that loop. The player opens a shop, places items such as a Key Cap and Bubble Wrap, crosses the build, and watches the tower grow as more purchases become possible. The footage also shows a shop selection changing later in the session. Those details are community observations, so they may change with an update and should not be treated as permanent rules.
For a beginner, “earn faster” should mean making the loop more understandable and repeatable—not chasing the largest number from an undated fan page.
Measure before you optimize
If the game shows enough information to compare income, create your own small test. You do not need a spreadsheet to start; a screenshot or short note is enough.
- Record your current balance and the time.
- Avoid buying or placing anything else during the test.
- Observe one short interval under normal play.
- Place one new item.
- Repeat the same interval as closely as possible.
- Compare the result and note anything that changed.
This is more reliable than comparing clips from different videos because your tests happen in the same game version and server conditions. It also protects you from a common mistake: confusing total balance with earning rate. A player with more money may simply have played longer.
Keep the limitations in mind. If the game applies boosts, offline earnings, temporary events, or server-wide effects, a simple before-and-after test may include factors you did not control. We have not verified those systems for this experience, so do not use one result as a permanent global stat. Repeat the test after major updates and describe the date whenever you share a number.
Choose your next purchase
The next item should solve a real problem. Ask which of these goals matters now:
- More route: you need another safe landing or a way to extend the obby.
- Easier movement: the current route is hard to finish consistently.
- More information: you want to test a different item rather than stack copies blindly.
- Saving: an available purchase does not fit the route or is not clearly better yet.
The current item catalogue contains a 29-row dated gameplay snapshot with readable cash prices, Robux prices, and income-per-second labels, plus nine curated item notes. Every snapshot row is marked Video observed and links to its exact YouTube timestamp. It is useful evidence of what that recording showed, not a current-price guarantee.
The table is a comparison aid, not a reason to skip the live shop label in front of you. Read the current price, compare it with the dated observation, consider the space the item requires, and decide whether you can use it immediately. Buying an expensive object that cannot fit your current path may slow practical progress even if it eventually earns well.
Keep the route productive
Money and building are connected. A route you cannot navigate may interrupt the way you collect or interact with your placed items. Even when a block earns automatically, an unusable tower makes testing and expansion harder.
After each purchase, walk the entire route from the start. Look for:
- gaps that require inconsistent jumps;
- objects that hide the next landing point;
- tall pieces that trap the camera;
- overlapping surfaces that make the path unclear;
- sections that take much longer than they add value.
Fix a broken section before adding another layer. A short, repeatable loop lets you evaluate new purchases more cleanly. It also makes it easier to tell whether a disappointing result comes from the item or from time lost navigating the build.
Avoid claiming that a particular shape creates a hidden multiplier. The official description says placed blocks earn money, but it does not say that height, color, sound, or layout multiplies earnings. Until the game UI or a reproducible test supports such a mechanic, treat it as speculation.
Use shop changes carefully
The recent gameplay source mentions and shows the shop changing later in the session. That suggests availability can vary, but one video is not enough to publish a fixed restock timer or guaranteed rotation schedule.
If an item you want is missing, use the current selection rather than freezing all progress. You can save money, improve the existing route, or test a lower-cost item while waiting. Note the actual time when the shop changes in your server. Repeating that observation across several sessions is the right way to investigate a timer.
Do not spend based on fear that an item is “never returning” unless the developer says so. A rotating or changing shop does not automatically mean limited rarity, trade value, or permanent scarcity.
Free rewards before Robux
Check current codes before buying premium products. TradeUpdate and Version5 are reported as active by multiple recent sources. In the audited code video, both were entered and submitted, but both attempts stopped at a Play 20 more minutes to redeem codes! restriction. No successful reward or exact quantity was shown, so the code rows remain Reported.
For Game Passes, the purchase research page verifies five listings and the prices returned by Roblox's official product API: VIP, No Collision, Fuse Speed, Pro Pack, and Starter Pack. A separate section records benefit text visible in a dated gameplay video. Keeping those sections separate prevents a video-observed benefit or price from being mistaken for current official product data.
Before spending Robux:
- Open the purchase prompt inside the correct experience.
- Read the current benefit description and price.
- Decide whether the benefit affects a problem you actually have.
- Avoid calculations based on an unverified multiplier.
- Remember that Robux purchases cost real money and are not required to understand the basic placement loop.
Claims we do not make
This guide does not turn the dated income-per-second snapshot into an item payback calculator, a “best block” tier list, a fixed shop timer, or a guaranteed fastest layout. Those conclusions would require current, repeatable tests under documented conditions.
What you can rely on is narrower and more durable: placed blocks are part of the money loop; spending and building should be evaluated together; one-item tests are easier to understand than bulk purchases; and current community footage can help identify item names without proving permanent values.
Use the live game as your primary measurement tool. If you record a repeatable price or earnings result, include the date, item name, game version if visible, and any active boosts. That turns an isolated number into evidence that can be checked, updated, and eventually added to this wiki with the right trust label.
Sources
- Build an ASMR Tower on RobloxChecked Jul 21, 2026
- Andy Plays Build an ASMR Tower gameplayChecked Jul 21, 2026