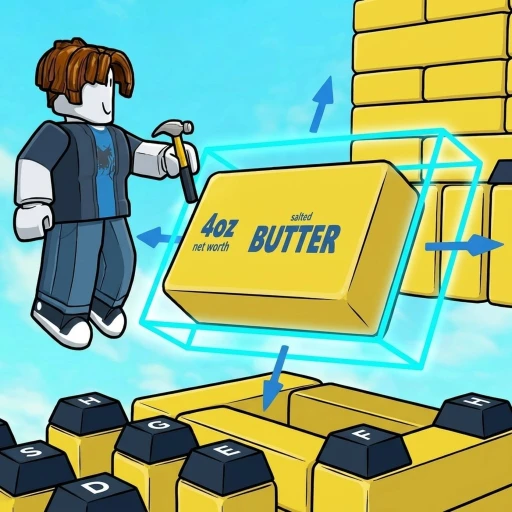
Build an ASMR Tower Beginner Guide
Quick answer: buy an ASMR item, place it at your base as part of a route, walk across your build, collect the money generated by placed blocks, and reinvest carefully.
The official Roblox description confirms the core loop: buy satisfying ASMR tools, place them at your base or use them to build an obby, earn money from placed blocks, and grow your tower. Item names and interface observations in this guide come from recent public gameplay and are therefore marked Reported, not official.
The basic progression loop
Build an ASMR Tower combines a tycoon-style money loop with a player-made obstacle route. You are not only buying an item and waiting for a number to rise. Each placed object also becomes part of the space you move through.
The safest beginner loop is:
- Open the shop and buy an item you can afford.
- Place it where it extends a clear route from your starting area.
- Walk across the route and check that every jump or step is usable.
- Let the placed blocks generate money, then collect what the game makes available.
- Reinvest in another item only after you understand what the previous purchase changed.
That last point matters. A large-looking object is not automatically a better purchase, and an item with a satisfying sound is not automatically the best earner. The official description does not publish price tables, income-per-second values, or a universal tier list. Build slowly enough to learn from your own server instead of following unsupported numbers.
Your first five minutes
When the experience loads, take a moment to identify three things: your base, the shop control, and the route you can currently walk. Recent gameplay shows a visible Shop button and a placement flow where an item is selected, positioned, and added to the base. The exact interface may move between desktop, mobile, and future updates, so follow the labels on your screen rather than memorizing one pixel-perfect location.
For your first purchase, prioritize clarity over ambition. Place the item close enough that you can reach it comfortably from the existing floor. Walk over it, turn around, and try the route again. If the object blocks your view or creates an awkward gap, revise it before adding more pieces around it.
Your early goal is not to make the tallest possible structure in one session. It is to establish a repeatable cycle: place, test, earn, and expand. A small route that works every time is more useful than a tall route that frequently sends you back to the beginning.
Build a route you can finish
Treat the tower as a sequence of readable decisions. A player should be able to look at the next object and understand where to land. That does not mean every jump must be easy, but the challenge should come from the route—not from hidden edges, accidental clipping, or a camera trapped inside overlapping blocks.
Use these checks after every few placements:
- Can you see the next landing point before you jump?
- Does the path still work when approached at normal speed?
- Is there enough room for the camera to follow you?
- If an item moves or bounces, is the next step still predictable?
- Can you tell which object belongs to the route and which is decoration?
Recent gameplay shows a player using different item shapes as supports and path sections. That is useful inspiration, not a guaranteed best layout. Your server, device, and current item selection may behave differently. Test each new section twice before investing in the next one.
Understand the item list
The current item catalogue now separates two evidence layers. A 29-row table transcribes cash prices, Robux prices, and income-per-second labels that were readable in one dated gameplay video. Every row is marked Video observed and links to the matching timestamp. Nine curated item notes remain Reported because broader behavior, rarity, and permanent availability were not established by the footage.
Think about items in two separate ways:
As route pieces: consider the footprint, height, visibility, and how comfortably you can move onto the next object. An item can be useful because it makes the route easier to understand even if its financial performance is unknown.
As earners: observe the money shown before and after placing an item. Do not compare two items from memory. Write down what you see or take a screenshot, then compare under similar conditions. Updates can change values, and a video recorded on another day may no longer match your server.
Upgrade screen observations
The following values were readable on the Upgrade screen in one third-party video. They are Video observed snapshots, not a current universal upgrade schedule:
- Max Placement: 70 items → 110 items, cost $30.00K, progress 2/13 at 05:46.
- Expand Tower: 2 rings → 3 rings, cost $1.00K, progress 1/50 at 05:46.
- Expand Tower after several purchases: 6 rings → 7 rings, cost $5.20K, progress 5/50 at 05:50. The changed cost shows that one price should not be presented as permanent for every level.
- Collect Storage: 1.00K → 2.50K, cost $1.00K, progress 0/10 at 05:46.
Check the values in your own Upgrade screen before planning a long purchase sequence. The video does not prove whether costs vary by server, update, account state, or only by upgrade level.
Desktop and mobile controls
The audited gameplay was recorded on desktop. A cursor clicked the Shop button at 00:16, an item was placed and the route was crossed at 00:51, and the edit interface at 01:42 displayed these on-screen choices:
1 Studs / Click to changeFree / No snappingMove / Click to changeExit / Leave edit mode
The video did not show specific WASD, arrow-key, jump, rotate, or delete bindings. Those keyboard mappings remain Pending. Mobile controls remain Pending because the footage did not show a touch joystick, phone HUD, gestures, or mobile-specific instructions. Do not translate the desktop clicks into invented touch controls.
Trading status
A Trade button was visible in the left navigation at 00:31, and a TRADE WORLD portal was visible at 01:55. Those two interface elements are Video observed.
The player did not open the Trade control or a Trading page. Therefore the Trading page remains Pending, along with trade fields, values, limits, eligibility rules, confirmation steps, and whether the portal and button lead to the same system.
Spend without guessing
You do not need a made-up “best item” to make a reasonable decision. Use a simple evidence-based routine:
- Note your balance before buying.
- Read the exact in-game purchase label.
- Buy one item rather than several unfamiliar items at once.
- Place it and observe how it affects both your route and earnings.
- Decide whether another copy, a different item, or more saving best serves your next goal.
Robux purchases deserve even more care. Our gamepass page verifies current names and Roblox-listed prices in one section, then separately lists benefit text readable in a dated gameplay video. The video observations do not replace the current official price records. Always read the live in-game purchase prompt before buying.
Common beginner mistakes
Buying faster than you can evaluate. Several purchases at once make it hard to learn which item changed your income or route.
Building only upward. Height looks impressive, but a cramped vertical stack can make the camera and jumps harder to manage. Use horizontal space when it improves readability.
Skipping route tests. A placement can look correct from build mode and still feel awkward when you actually jump onto it.
Trusting exact values from unsourced pages. Numbers copied between fan sites may be old or invented. Prefer what the live game shows and check the date on every guide.
Assuming every observed item is always available. Shop selection and updates can change. “Reported” means we saw current evidence; it does not promise that the item will appear in every visit.
Spending Robux from a name alone. Current Game Pass records have blank official descriptions. Confirm the contents inside Roblox before approving payment.
Free rewards and codes
Before spending, check the Build an ASMR Tower codes page. TradeUpdate and Version5 are currently reported by several recent sources. An audited video shows both codes being entered and submitted, but both attempts stopped at Play 20 more minutes to redeem codes!. The footage did not prove success, failure, expiration, prior use, reward type, or reward quantity.
Enter codes exactly as written. If the interface is missing, let the game finish loading. The recorded account was told to play 20 more minutes, but the video did not prove a total 30-minute rule or that the account was new. Codes can be disabled without a public expiration date, so a recent checked date is more useful than an undated list.
What is confirmed
The first-party description confirms the overall purpose of the game: purchase ASMR tools, place them at your base or use them to build an obby, earn money with placed blocks, and expand the tower. Roblox also confirms that the experience is created by the +100 group.
The item values, upgrade values, interface labels, and visible Trade entry points above come from dated community gameplay and are capped at Video observed. Restock timing, item rarity, Trading-page mechanics, mobile controls, exact keyboard bindings, and one “best” layout are still pending. That separation is intentional: this guide should help you start playing without turning a third-party snapshot into a timeless fact.
Sources
- Build an ASMR Tower on RobloxChecked Jul 21, 2026
- Andy Plays Build an ASMR Tower gameplayChecked Jul 21, 2026